If your kids don’t have their own helicopter, and a dinosaur and a chick as friends, don’t worry. I’ve got you covered! With just a few paper cups and simple supplies, you and your little ones can create a whole set of adorable toys. You can also watch the full tutorial video here!
But first, let’s take a moment to talk about why DIY (Do It Yourself) toys are such a wonderful idea for kids.
Why DIY Toys Are Awesome for Kids
Crafting toys isn’t just about keeping children busy, it’s an adventure that helps their brains and hands grow stronger! Through simple actions like cutting, folding, taping, and gluing, kids naturally develop fine motor skills and improve hand eye coordination. Every snip of scissors or twist of a rubber band becomes a tiny lesson in control and precision.
At the same time, DIY projects unlock creativity. Kids aren’t just following instructions, they’re imagining, decorating, and giving personality to their creations. A paper cup can turn into a dinosaur with sharp teeth, or a helicopter ready for takeoff. This freedom to experiment allows children to express themselves in ways that store bought toys often don’t.
DIY crafting also teaches patience, focus, and perseverance. Each step requires attention, and when kids finally hold up their finished toy and shout, “Look, I did it!”, the pride on their faces is priceless. That sense of accomplishment boosts confidence and encourages them to try more new things.
And let’s not forget the best part: quality family time. Sitting around the table with scissors, glue, and giggles transforms a simple afternoon into a memory your kids will cherish. Crafting together is more than making toys, it’s about bonding, laughing, and celebrating small victories.
What You’ll Need
• Paper cups, craft paper, crayons
• Child-safe scissors
• Googly eyes, tape, string, beads
• Any other decorations your imagination suggests
(Tip: Parents should always supervise when scissors are involved—tiny fingers are precious!)
Let’s Get Crafty!
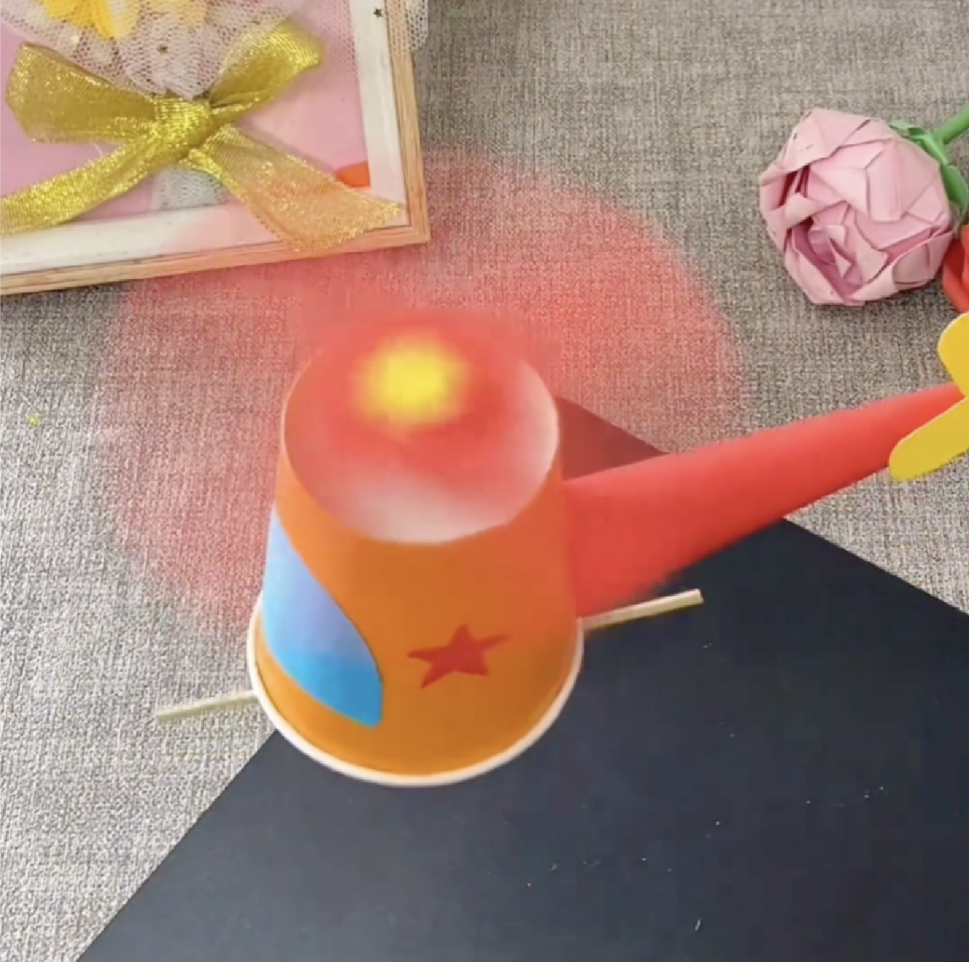
Craft 1: Paper Cup Helicopter🚁
- Grab a colorful paper cup. This will be your helicopter’s body.
- Cut a round hole (about 2.5 cm) on the side of the cup.
- Poke a small hole at the bottom.
- Roll a strip of paper to make the tail and insert it into the side hole.
- Decorate your helicopter with markers or stickers.
- Thread a rubber band through a bead and secure it between two sticks. This becomes your rotor.
- Attach the blades to the rotor.
- Twist the stick at the cup’s mouth to “charge it up.”
Your paper helicopter is now ready for its first mission. To see exactly how it’s done, check out the tutorial video here!
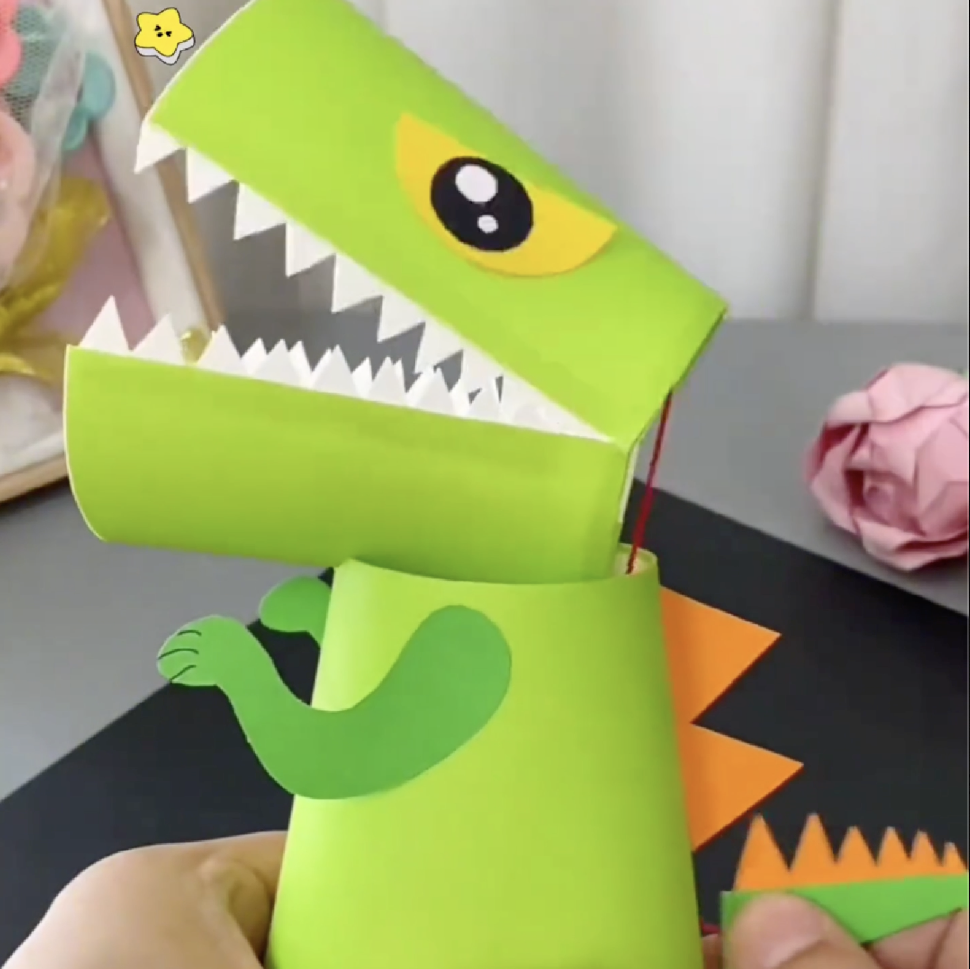
Craft 2: Paper Cup Dinosaur🦖
- Take one paper cup and cut a mouth, splitting two sides for the jaw.
- Use a second cup, punch two small holes, and thread wire or string through to connect the head and body.
- Glue the parts together firmly.
- Cut out and attach paper details: a tail, arms, spikes along the back, teeth, and of course, googly eyes!
And there you have it—a dinosaur that’s cute, not scary! You can watch more in the tutorial video here.
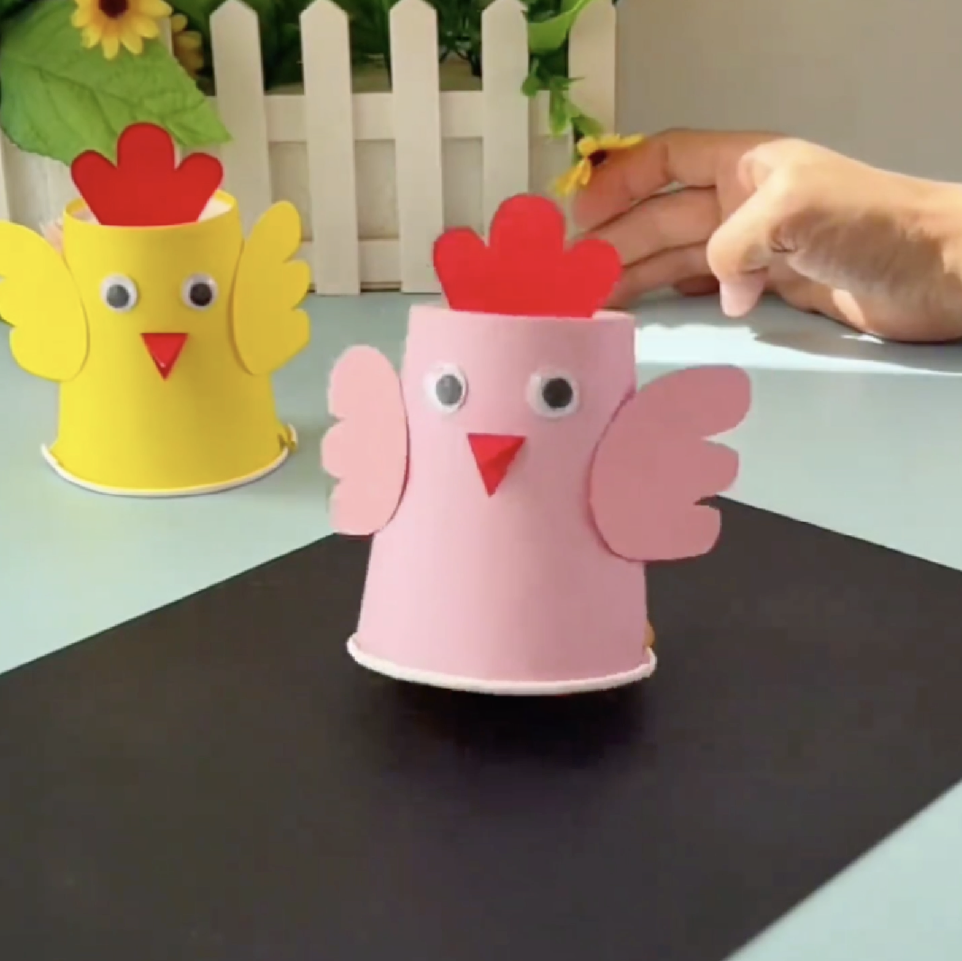
Craft 3: Paper Cup Chick🐤
- Decorate a paper cup with eyes, a beak, wings, and a red comb. Make it as adorable as you like.
- Take two plastic bottle caps, place them upside down against each other, and tape them together.
- Attach a rubber band securely around the caps.
- Cut two small slits on both sides of the cup’s mouth and insert the elastic band.
- Twist the caps a few times, place the chick down, and let go.
Watch in delight as your little chick runs across the table like it’s in a hurry to find its mama!
To see exactly how it’s done, check out the tutorial video here.
Why This Matters 💡
These crafts are more than just toys. They’re tools for learning, bonding, and creating joy at home. Instead of buying expensive gadgets, parents can show kids how to transform ordinary household items into something extraordinary. It teaches resourcefulness, sustainability, and the magical idea that happiness doesn’t need to come from a store, it can be handmade.
When parents and kids craft together, laughter fills the room. Children feel loved, parents feel proud, and everyone enjoys a break from screens and routines. These moments are what childhood memories are made of.
So, what are you waiting for? Grab some cups, gather your supplies, and start crafting today. Because sometimes, the best toys aren’t the ones you buy, they’re the ones you build together.
✨ Happiness can be handmade, and it starts with a simple paper cup.
👉 Tutorial video here: Watch on YouTube