Do your kids love building things that actually work? This paper bow and arrow is a great choice. It looks cool, fires gently, and is made from simple supplies you already have at home. The goal of this guide is clear and simple: help you fold and assemble a playful paper bow that your child can decorate and use safely.
Why This Activity Is Awesome
There are so many benefits when parents and kids do this activity together:
✅ Builds fine motor skills
✅ Encourages creativity and focus
✅ A cool hands-on STEAM project
✅ Great bonding time for parents and kids!
Materials
Prepare these simple items:
- Scratch paper or notebook paper (at least 5 sheets)
- A pencil for rolling paper sticks
- Sticky notes for color and extra strength
- Scissors
- Tape or glue
- Rubber bands (3 or more)
- A pen, skewer, or chopstick to poke small holes
- Optional: markers, washi tape, stickers for decoration
Adult supervision is important whenever scissors or sharp tools are used.
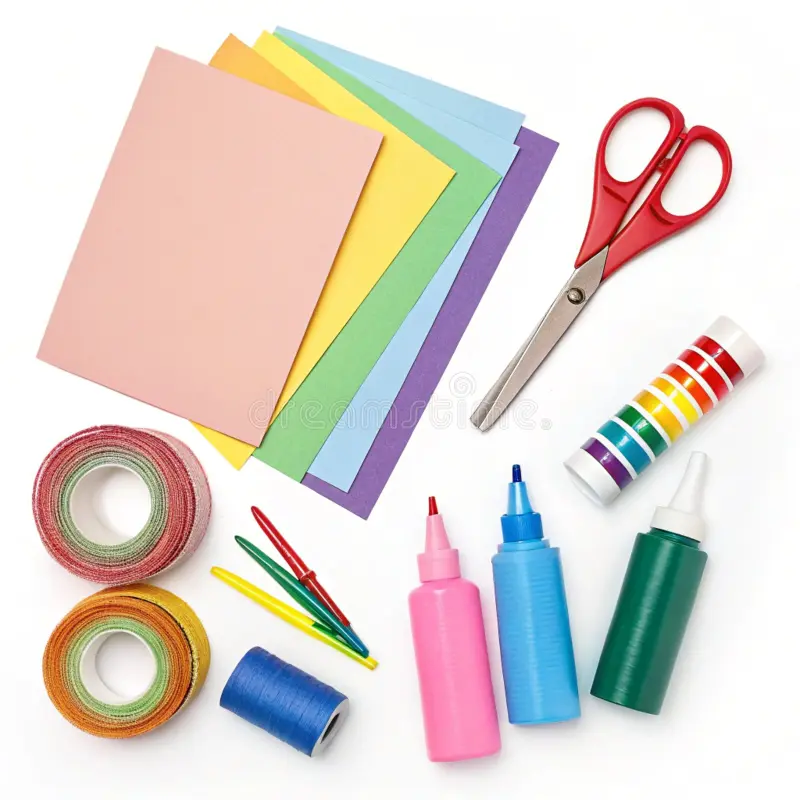
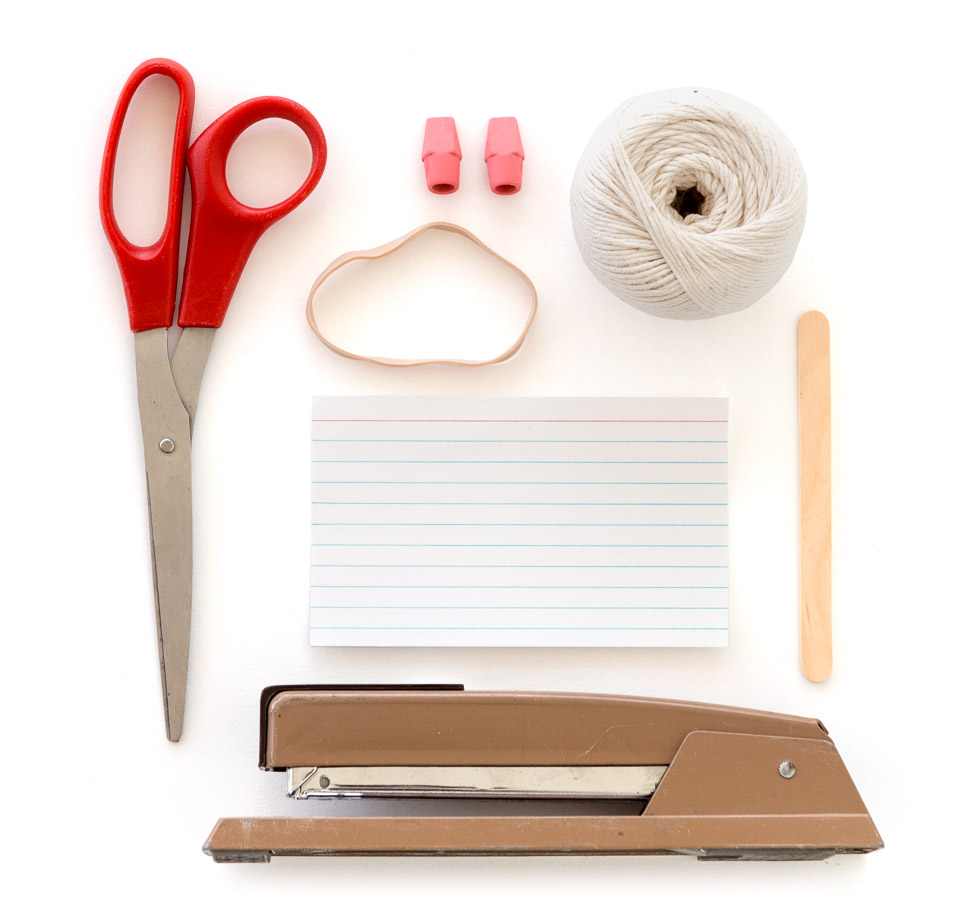
Simple craft supplies lined up: grid paper, pencil, scissors, tape, rubber bands (plus decorations if you like)
Before You Start
A couple of small tips make a big difference:
- Roll the paper tightly around the pencil so the sticks are firm.
- Try to keep all paper sticks the same length. Consistent parts help the bow work smoothly.
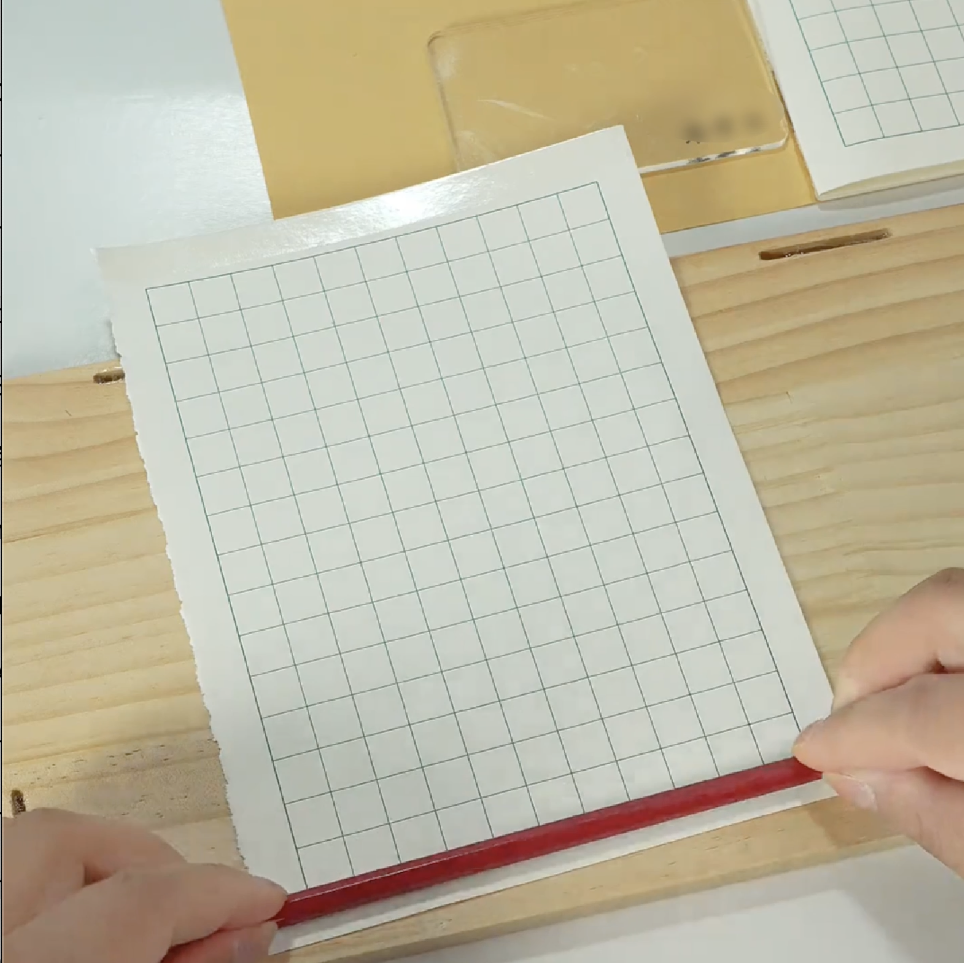
- If you have grid paper, it makes rolling and measuring easier.
Step-by-Step Instructions
To see exactly how it’s done, you can watch the full tutorial video. But here’s a clear breakdown of the steps:
Step 1: Roll the Paper Sticks
Roll five paper sticks around a pencil. Slide the pencil out and tape each roll so it keeps its shape.
Step 2: Prepare the Frame
Set one stick aside for later. That will be the handle.
Flatten the other four sticks with your fingers.
Poke a small hole in the center of each flattened stick.
Wrap each one with a sticky note. This adds color and strength.
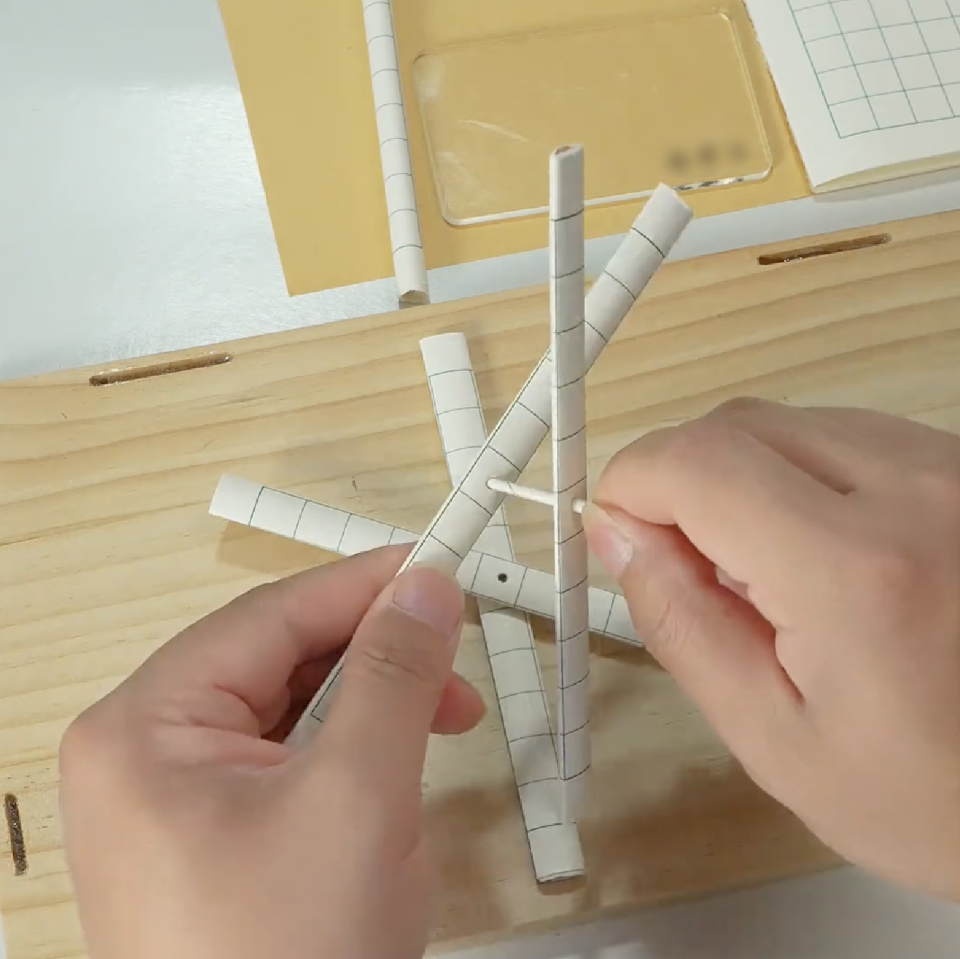
Step 3: Build the Bow Body
Lay the four flattened pieces in a cross shape.
Roll a tiny paper pin (a very thin stick) and tape it tightly so it is strong.
Insert that pin through the holes of all four pieces to lock them together.
Stack and tape the pieces so the cross holds firm.
Tape the two middle arms side by side to reinforce the center.
Trim any extra length from the thin pin so it is neat.
Step 4: Add the Handle
Take the fifth stick you saved. Tape it vertically across the center of the cross.
This becomes the handle you hold while shooting.
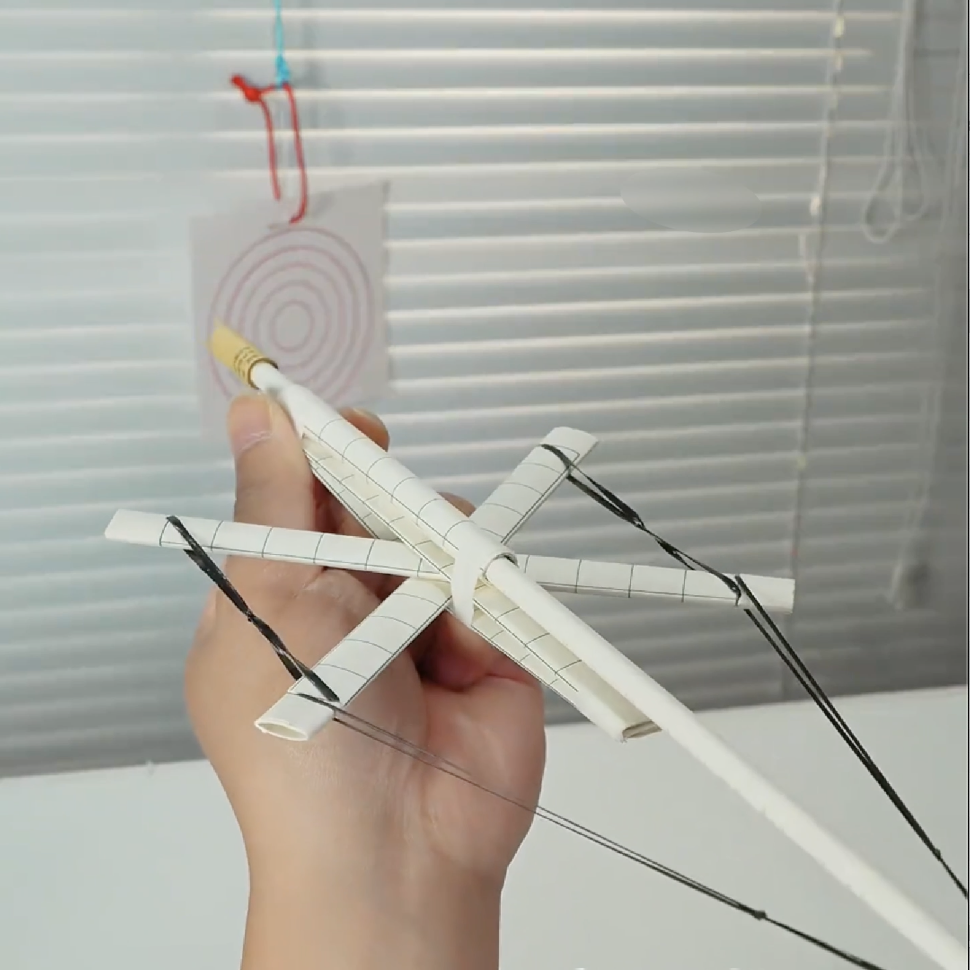
Step 5: Make the Elastic System
Cut a small notch at both ends of the horizontal arms.
Link two rubber bands together to make a longer band.
Hook one end into the left notch and the other into the right.
Add a third rubber band across the bottom. It acts like a moving belt.
Test the motion. When you pull the bottom band, the top band should tighten.
Step 6: Make the Arrow
Roll another thin paper stick for the arrow.
Tape it so it stays firm.
Optional: add a tiny paper tip or a tail for style and easier flight.
Step 7: Ready and Launch
Slide the arrow into the center band.
Hold the bow by the handle, pull the bottom rubber band back, and release.
Your arrow will pop forward with a satisfying whoosh.
Safety Notes
- Use only soft paper arrows.
- Aim at a wall, a cardboard box, or a paper target.
- Do not aim at faces, eyes, or pets.
- Keep a safe distance between players.
- For younger children, an adult should handle cutting and the first assembly.
Troubleshooting and Tuning
- Arms feel loose: Add an extra wrap of tape where the pieces meet, or use a fresh sticky note to tighten the cross.
- Arrow wobbles: Make the arrow a little longer and roll it tighter. A straight, firm arrow flies better.
- Bands slip off the notches: Cut the notches a bit deeper and press the bands into them, then add a small tape guard.
- Bow twists when you pull: Check that the two middle arms are taped securely side by side and the handle is centered.
Simple Play Ideas
- Set up paper cup targets and give each a score.
- Make a “range” on the floor with tape lines and see how far the arrow travels.
- Challenge each other to gentle trick shots, like knocking over a light paper tower.
- Create a friendly tournament and let kids design medals with stickers.
Personalize Your Bow
Kids love making the bow their own. Try bright sticky notes, bold markers, or themed stickers. Give the bow a name and write it on the handle. Some favorites: Storm Arrow, Blue Falcon, or Paper Comet. Little touches make the toy feel special.
Clean Up and Care
When you finish playing, unhook the rubber bands so they last longer. Store the bow and arrows in a paper envelope or a zip bag. If a stick gets bent, roll a new one in under a minute and tape it in place.
What Kids Get from the Process
The focus of this activity is the making. Children follow steps, keep parts consistent, check fit, and test. They learn to adjust when something is too loose or too tight. They see cause and effect when a small change in the band or arrow shape improves the shot. Most of all, they feel proud when the bow they built sends an arrow flying.
Make It a Family Moment
This isn’t just a toy—it’s teamwork, laughter, and learning all rolled into one.
Whether your child is 4 or 10, they’ll love launching arrows with you cheering them on.
Encourage parents to participate, not just supervise.
Bonus: it’s just as fun for grown-ups!
Watch and Fold Along
Need help with folding or the rubber band trick? Watch the full video here and follow along step by step!
Ready to build your first paper bow? Gather your supplies, clear a small work space, and fold together. A few sheets of paper, a couple of rubber bands, and a little patience are all it takes to make a toy that brings big smiles.